Mirrors are functional pieces that are easy to style and add instant character to your space. The best way to ensure you augment the targeted tone and style you’re trying to achieve is to pay attention to your frame style. The frame sets the mood of your mirror, which influences the rest of the room.
If you can’t find a style that suits you, it might be time to go down the DIY route. Making your own mirror frame is an easy and fun way to create something entirely unique. Here are five simple steps to help you create a DIY mirror frame.
Step 1: Measure the Mirror
The first step to completing your DIY mirror is measuring it. Ensuring you have the correct length and width will help you buy the right materials and cut them down so that they fit around the mirror perfectly.
Step 2: Choose the Frame Material
After getting the width and length sizes, start sorting through your material choices. There are many, so take your time with the decision process. You can choose between natural materials like branches and stone or pick something else like wood, metal, or PVC. Pick something that adds to your home’s style. Also, ensure that your material is sturdy enough to hold your mirror.
Step 3: Cut the Frame Material
Once you have your mirror’s measurements and material, you can make the necessary cuts. Measure and mark your frame material, then use a saw or other cutting tool to trim it to the right size. Sand or paint your frame material for the desired finish if you’re using wood.
Step 4: Assemble Your Frame
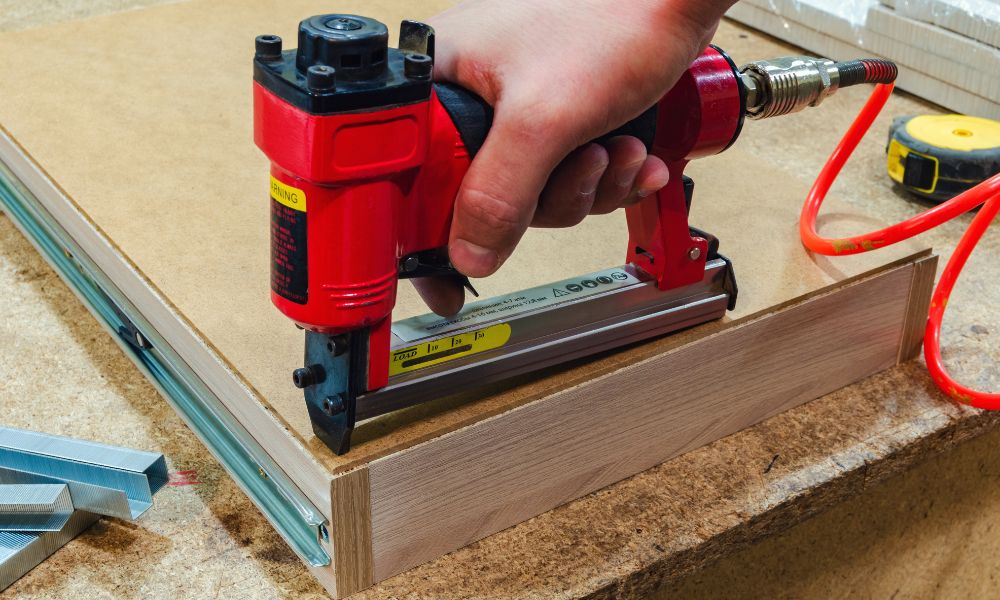
Before attaching the mirror to the frame, you need to assemble the frame. You can glue or nail the pieces together, depending on the chosen frame material. Avoid using nails on lightweight materials or glue on heavier things due to weight issues and chipping. You want to ensure the mirror fits snugly while avoiding damage to the frame.
Step 5: Secure the Mirror
Once you have assembled your frame, you can attach the mirror. You can use brackets, clips, or adhesive to secure the frame. Clips or brackets are more secure and make it easier to remove the mirror for cleaning or replacement.
Creating your own DIY mirror frame in 5 steps brings out the best in your work or home space and makes you feel satisfied with the overall look. If you’re looking for a tool to make your DIY project even easier, Salco’s picture frame stapler is the ideal companion. This tool secures your mirror to the frame efficiently. Try being creative with our assortment of staplers and watch your masterpiece come to life.