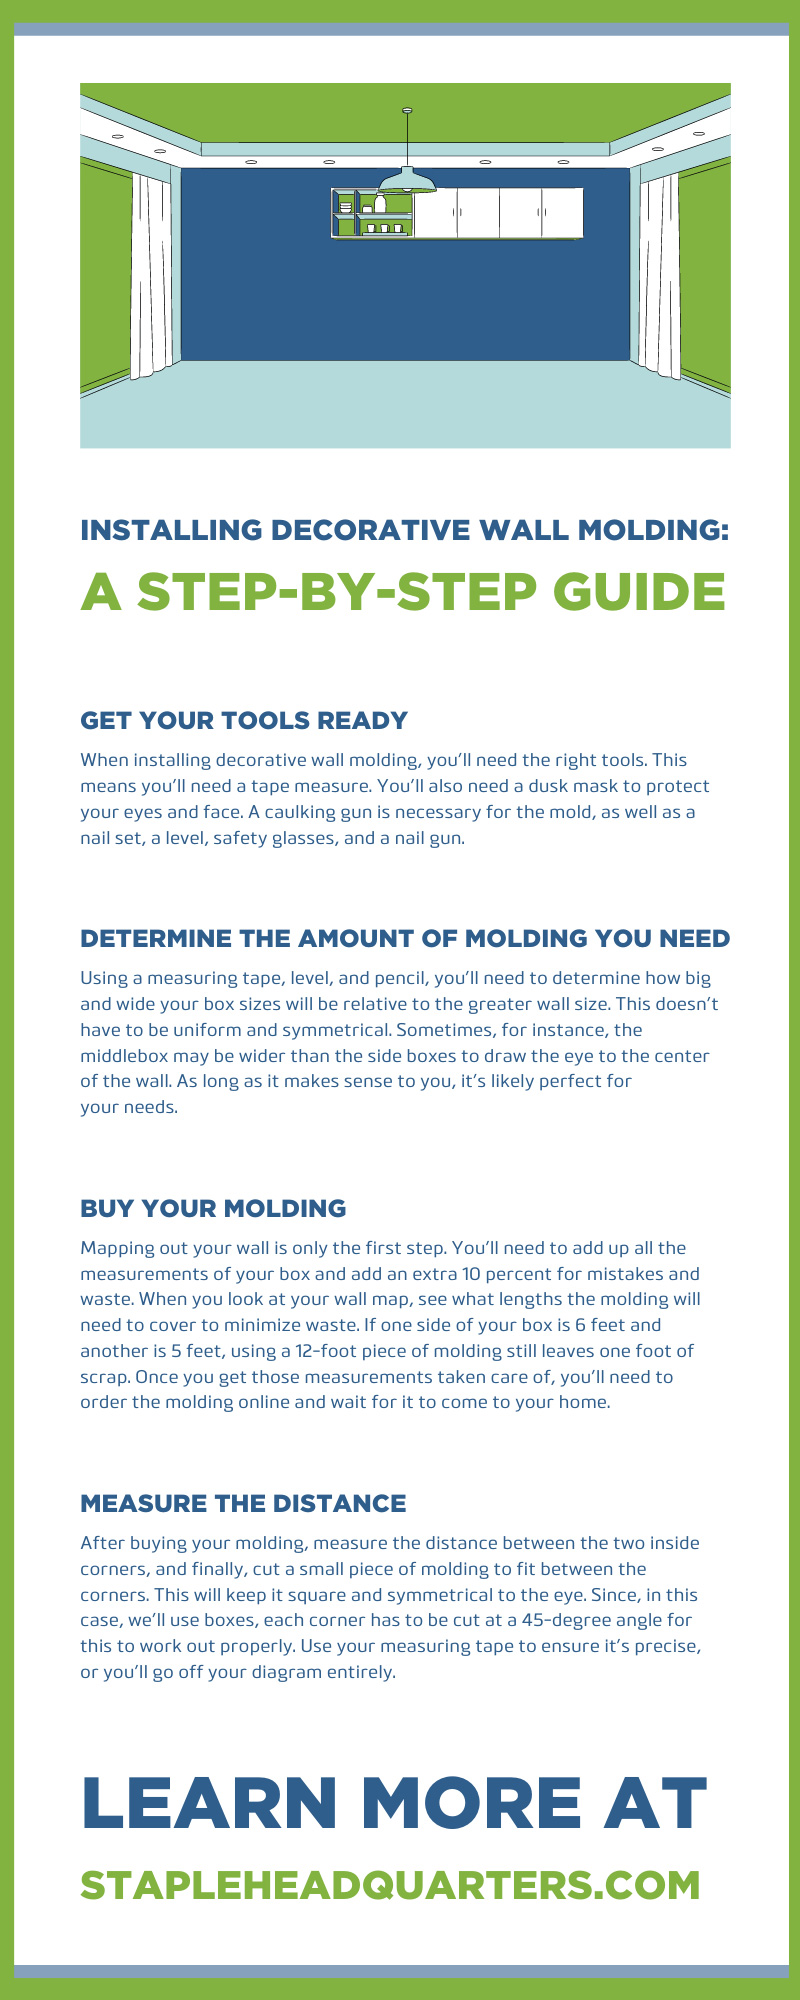
If you’ve ever wanted to decorate your walls with molding, you’ve come to the right place. Wall molding is typically a strip—or several strips—of wood people put on walls for decorative purposes or even as a finish. You can make a wall molding curved, flat, or both, and they often transition from one surface to another. While certainly not a project for a beginner, for a seasoned home improvement DIY practitioner, wall molding can be a fun project. So how do you install decorative wall molding? Check out our step-by-step guide below.
A Brief History of Molding
Believe it or not, moldings have a long and varied history. They allowed the designer, homeowner, or builder to make a statement. Back in the day, bigger houses conveyed a sense of the owner’s standing and acquisition of wealth. As such, decorative molding was a sign of luxury and stressed the importance of the property.
In the 19th century, moldings were often in luxurious houses that were big and bold with floral patterns and beautiful curves. They were also a mainstay of the American republic, as buildings of the Federal style used them. However, when such buildings included them, the molding’s overarching profiles were subtle and smaller than they normally would be. They also had many elliptical curves.
During the Victorian era, a ton of molds of various sizes and profiles arose, and people began to draw from different periods, such as the Middle Ages and classical Greece. They even used influence from Italy and Ancient Egypt. Now, let’s get into how to install your own moldings in the modern day!
Get Your Tools Ready
When installing decorative wall molding, you’ll need the right tools. This means you’ll need a tape measure. You’ll also need a dusk mask to protect your eyes and face. A caulking gun is necessary for the mold, as well as a nail set, a level, safety glasses, and a nail gun. Furthermore, you should get a hammer tacker stapler unit to help you affix your wood fixtures to the wall. Finally, make sure you have a paintbrush to paint the wall, a miter saw, and a drop cloth.
Determine the Amount of Molding You Need
Using a measuring tape, level, and pencil, you’ll need to determine how big and wide your box sizes will be relative to the greater wall size. This doesn’t have to be uniform and symmetrical. Sometimes, for instance, the middlebox may be wider than the side boxes to draw the eye to the center of the wall. As long as it makes sense to you, it’s likely perfect for your needs. As a pro tip, your ceiling-to-floor ratio probably isn’t perfectly level. Match the lines of your molding boxes to the lines of the ceiling. That way, anyone looking at it will think they see straight lines when they may not actually be completely even.
Buy Your Molding
Mapping out your wall is only the first step. You’ll need to add up all the measurements of your box and add an extra 10 percent for mistakes and waste. When you look at your wall map, see what lengths the molding will need to cover to minimize waste. If one side of your box is 6 feet and another is 5 feet, using a 12-foot piece of molding still leaves one foot of scrap. Once you get those measurements taken care of, you’ll need to order the molding online and wait for it to come to your home.
Measure the Distance
After buying your molding, measure the distance between the two inside corners, and finally, cut a small piece of molding to fit between the corners. This will keep it square and symmetrical to the eye. Since, in this case, we’ll use boxes, each corner has to be cut at a 45-degree angle for this to work out properly. Use your measuring tape to ensure it’s precise, or you’ll go off your diagram entirely.
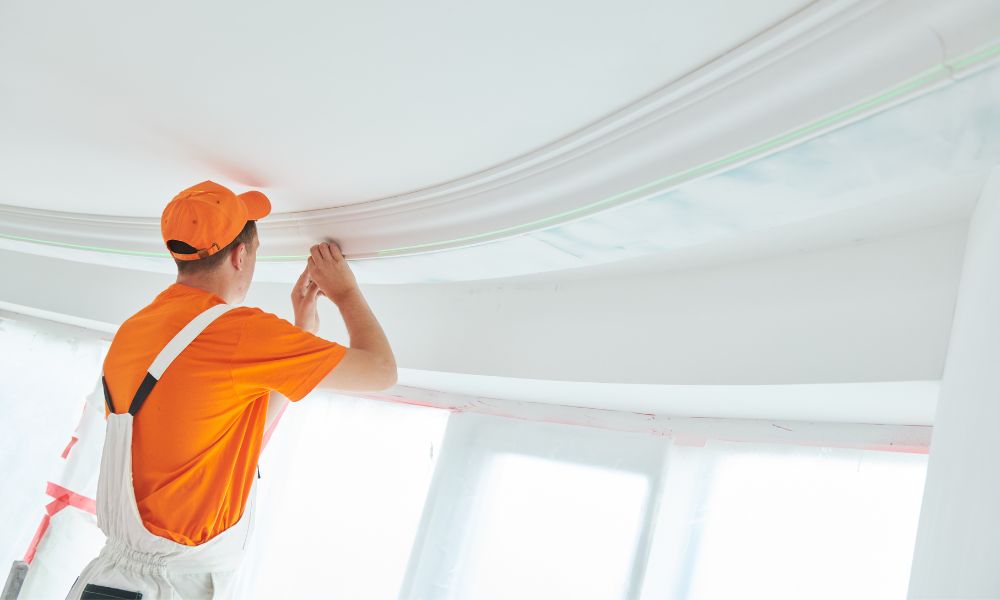
Nail It in Place
There are a few ways to do this. You could use a hammer tacker stapler, which harnesses momentum to drive staples into the wall easily. Alternatively, you can use your nail gun. Either one is useful for securing the molding into the wall studs. After you finish nailing, try to pull gently at the molding. If it comes out or slightly wiggles, you likely haven’t affixed it correctly. This could be dangerous, as it could fall off at any point.
Cut and Install It
Cut the wall molding around the original measuring tape you created in the second step. You’ll want to nail it throughout and cover every area of the wood. Use the level to ensure that it’s all straight. If it’s crooked, you’ll have to start over. Ensure all the pieces are in place, then use putty for wood to hide the nail holes. You’re using the putty to fill in gaps in the corner. Once it dries, sand it down so that it has a smooth finish. This is an important part of our step-by-step guide to installing decorative wall molding.
Caulk and Prime It
This isn’t exactly the most fun part of the project. It takes some time, but caulking your wall hides any gaps that are still hiding between the wall and the molding. It ensures that the molding is pleasing to the eye and doesn’t have any unsightly holes. As always, you’ll want to use primer when covering wood with any substance. When you use primer, the wood won’t show through the paint. There is such a thing as pre-primed trim. If you have it, you can skip the priming step entirely. Once you go through caulking and priming, you can paint it.
Paint It
We’re in the home stretch! You’ll want to use an angled brush to put pain on top of the trim. The molding might be the same color as your wall. If that’s the case, you won’t even need to repaint the wall. Otherwise, it might be time to go back to the drawing board and repaint your wall from scratch. Find a paint that helps your decorative molding perfectly match your wall. But if you want contrast, then use a darker color.
Overall, the process of installing decorative wall molding is challenging yet rewarding. It allows you to learn a new hobby and work on a multi-day project that’s new and creative. If you need tools for it or any other DIY project, shop at Staple Headquarters today! We have everything you need!