Creating creative DIY projects is a great way to pass the time. It saves you money while giving you the perfect hobby you can do whenever you want. It’s also important to get things done around the house promptly, and you might feel more compelled to work on them when they’re enjoyable. Before you tackle big projects on your DIY journey, it’s wise for you to start small. One of the simple projects you can try is making your oversized picture frames. We’ll go into how you can best do this. Read on to find out more.
Reasons To DIY
So why would you want to DIY projects like making picture frames in the first place? If you’re curious, we have many reasons, but we’ll list two of the primary ones below. This is important because once you know why you’re doing a DIY project, you’ll be more likely to complete another in the future and become more excited about the ones you’re starting.
Saves You Money
For one, starting a small DIY project saves you money in the long run. Yes, you’ll have to buy your print and your tools. However, when you get your supplies, you can easily use them to complete another project, especially if it’s the same kind. In this case, you wouldn’t have to buy a picture and a frame multiple times, which can be costly. Instead, you can use the same supplies you bought to create multiple frames for any prints you buy in the future. It may cost you time.
Helps You Build a Skill
When many people decide to forgo DIY projects to buy an item, they usually do so to save time. What they often fail to consider is that a project like this can be more than an enjoyable way to pass the time. Becoming handier around the house starts with smaller projects. Even a small task like creating your picture frame can make you confident enough to begin doing bigger projects over time. Taking on DIY projects helps build your handyman skills. Once you get the DIY bug, returning to buying things from a store becomes less appealing.
How Do You Make Your Picture Frames?
Now that we’ve given you the primary reasons why you’ll want to make your own oversized picture frames, it’s time to take you through the process of how to do so. Read on below, and you’ll learn how to do this easily and efficiently.
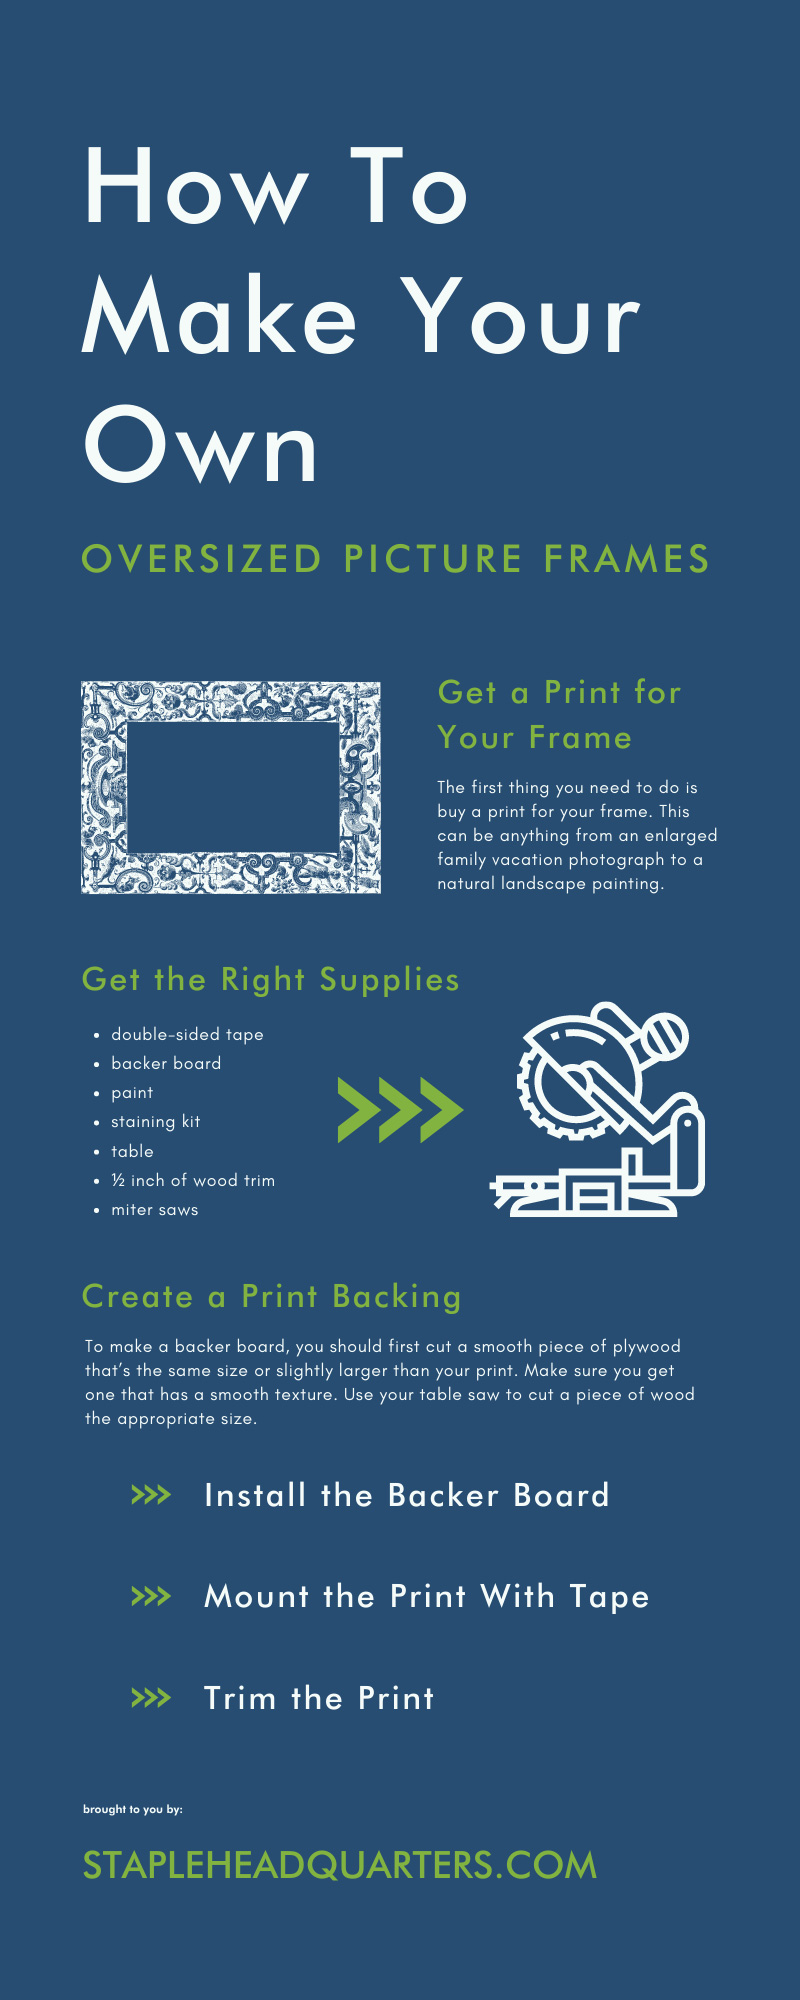
Get a Print for Your Frame
The first thing you need to do is buy a print for your frame. This can be anything from an enlarged family vacation photograph to a natural landscape painting. It’s up to you, and you can get prints anywhere. If you’d like, you can even laminate a blown-up art from Pinterest, although it’s more useful for inspiration and may have a copyright. You can always go to your local art shop or have something custom-made. There’s no shortage of people selling amazing artwork at affordable prices. Once you have your print in place, you’ll need the right tools.
Get the Right Supplies
The first things you’ll need are table and miter saws. These will help you cut your backing. You’ll also want a double-sided take, paint, a staining kit, and a backer board. Furthermore, it’s wise to pick up a ½ inch of wood trim. These supplies are easy to find at your local hardware store. Once you gather everything, you can work on making your oversized picture frame.
Create a Print Backing
You’ll first need a frame to highlight your print’s beauty. Because of that, you can build your frame right onto your wall. When you have a print on the wall, you first want to create a backing for the print so that textures don’t show through. To make a backer board, you should first cut a smooth piece of plywood that’s the same size or slightly larger than your print. Make sure you get one that has a smooth texture. Use your table saw to cut a piece of wood the appropriate size.
However, if you want to create a more intricate design, you can use your miter and table saws to cut two small pieces of wood you’d place together. If you don’t have a miter saw or table saw, your local hardware stores, such as Home Depot or Lowe’s, could likely cut the boards down for you. This is a useful option if you don’t want to get these tools. As you continue DIYing, you may eventually invest in the saws to do this step yourself and grow your skills.
Install the Backer Board
After you cut out your backer board, you’ll want to install it before you attach the print to the frame. Use your nail gun to drive your nail through the board into the wall at the center. This ensures that your backing board attaches to the wall and doesn’t fall out of place. This happens a lot when you have bigger frames. Ensure the board is level. If you have a level available, this will be perfect. Once it’s even, secure the board, and use it every two inches. The board shouldn’t be heavy. Otherwise, you’ll have to worry about anchoring it to a wall or fencing your studs.
Mount the Print With Tape
Next, you’ll want to work with your double-sided tape. Make sure you apply your sticky tape to the print’s backing, then attach that to the backing that you’ve nailed to the wall. Once the print is up, you can start in the middle, smooth it out, and smooth it from top to bottom. You’ll want to eliminate any bubbles since those will ruin the texture of the print. This also ensures your print stays in one place.
Trim the Print
Finally, it’s time to frame your print. The frame you want to use is entirely up to you. Some people like larger and thicker frames, while others prefer thin frames. If you’re going for a thinner one, you should use a trim piece of only ½ inches. This is why DIY is so great! You pick, choose, and customize things the way you want them.
You’ll also want to choose whatever color and paint goes with your décor. Paint the frame the color you pick, and start cutting the frame. To cut them, use your miter saw and ensure the trim can accommodate the length of your print. You’ll want to make the top and bottom of the pieces longer than the bottom and the top of the print. The frame needs to meet. Nail the pieces in place.
If you’re looking for tools to help you attach your framing, you can check out some of the framing staple guns we have available at Salco Staple Headquarters. We have everything you’ll need to start a DIY project to create your own painted frame. Contact us for details.