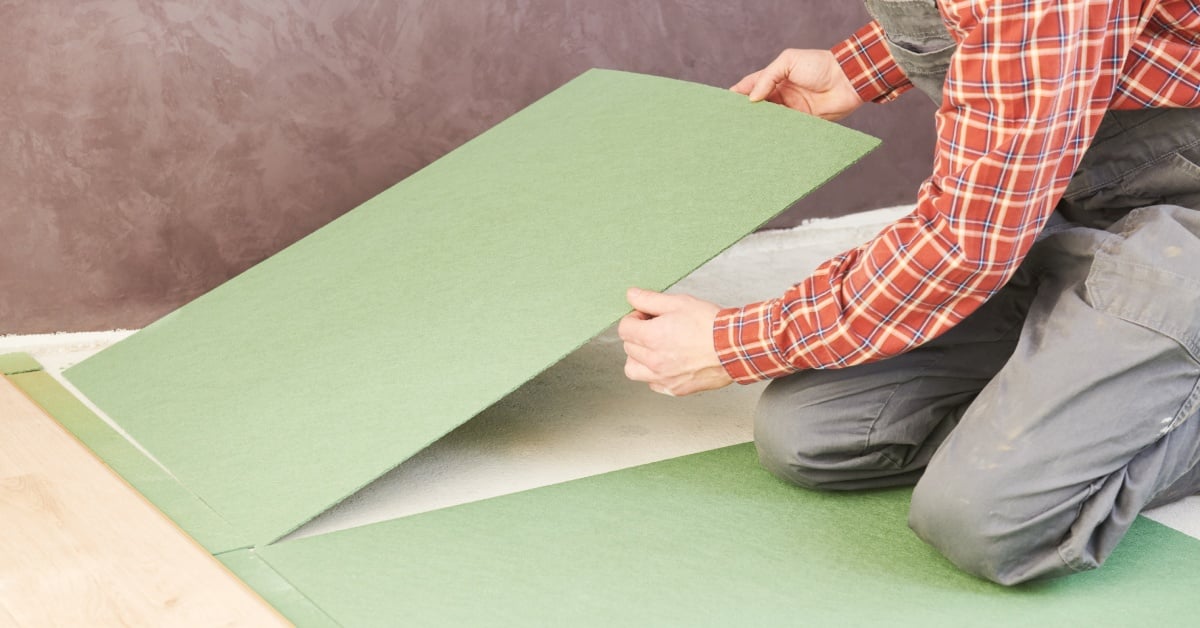
You finally picked out that gorgeous new flooring. Ready to get started? First, there’s one crucial step standing between you and that finished floor: putting down the underlayment.
It is not the most glamorous part of the project, but skipping it or doing it wrong will haunt you later with cold floors, moisture issues, and annoying squeaks. If you want speed and efficiency, you’ll want to know how to attach underlayment with a hammer tacker.
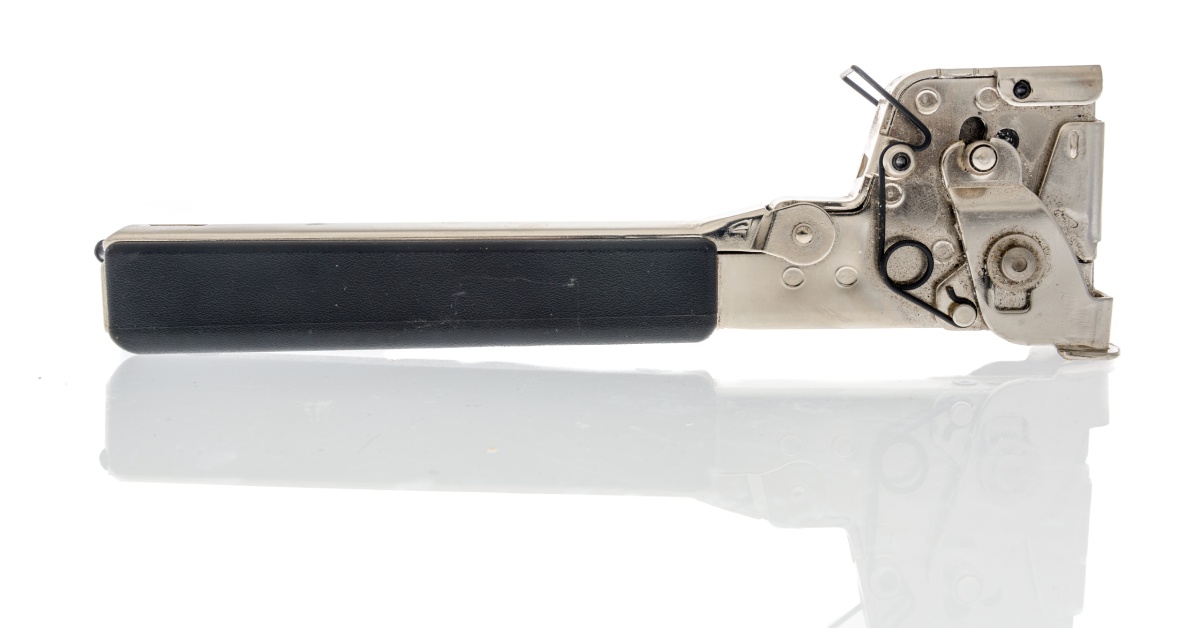
Why Choose a Hammer Tacker?
You have a few options for securing this material. Some people use a standard trigger-operated staple gun, while others might even try simple tape if the product allows for it. However, the hammer tacker is the superior choice for speed. A trigger gun requires you to position the tool, squeeze your hand, and repeat that motion hundreds of times. Your grip strength will give out long before the floor is done.
A hammer tacker works on momentum. It is essentially a stapler combined with a hammer. You swing it, and the impact drives the staple into the wood. It allows you to move rapidly across the floor, securing the sheet as you move without ever stopping to squeeze a trigger. It turns a two-hour job into a thirty-minute breeze!
Preparing the Subfloor
Before installing underlayment, remember that you can’t just throw it down over a mess. The subfloor needs to be clean, dry, and flat. Even a small pebble or stray wood chip can cause problems, eventually causing your finished floor to rock, crunch, or crack.
Cleaning the Surface
Grab a broom and sweep the entire area thoroughly. Pay special attention to the corners and edges where dust bunnies and drywall crumbs like to hide. Once you think it is clean, vacuum it again.
It might seem like overkill, but you want that surface pristine. If you are working on a wooden subfloor, check for any nail heads sticking up. You should pound those flush with a hammer so they don’t tear the new material you are about to lay down.
Checking for Moisture
If you are installing over concrete, verify that the moisture levels are safe. You can tape a small square of plastic to the concrete and leave it for a day. If you see condensation under the plastic when you peel it back, you have moisture issues that need to be addressed before you cover it. Wood subfloors are usually safer, but if there has been a recent leak or spill, let it dry completely before proceeding.
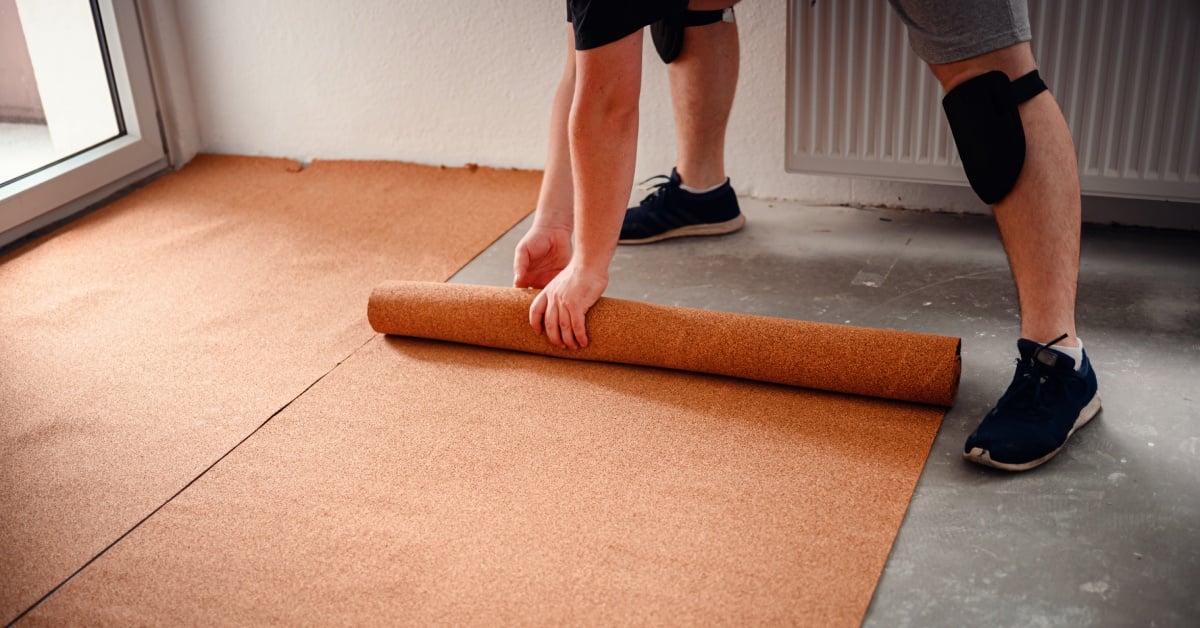
Laying Out the Material
Now you are ready to roll—literally. Most underlayment comes in large rolls that cover about a hundred square feet. The underlayment usually runs parallel to the direction you plan to lay your flooring planks, but check the manufacturer's instructions on your specific box to be sure.
Positioning the First Row
Roll out the material to the opposite wall. Make sure you leave a slight gap around the perimeter walls, usually about a quarter of an inch, unless the instructions say otherwise. This gives the material a little room to breathe and settle. If your underlayment has a specific vapor barrier side, make sure that side faces the direction specified by the manufacturer.
Smoothing It Out
Before you put a single staple in, get down and smooth out the run. You want to pull it taut so there are no wrinkles or bubbles, because this means there will be no bump in the floor. Work from one end to the other, pulling slightly to create tension. It helps to have a second person for this part; have one person hold one end while you adjust the other. You can also manage it solo if you weigh down the starting end with a toolbox or a stack of flooring.
The Stapling Process
This is the main event! Make sure your hammer tacker is loaded with the correct-size staples. Usually, you want staples that are long enough to bite into the subfloor but not so long that they blow through the ceiling below if you are on a second story. Typically, a 5/16-inch or 3/8-inch staple is sufficient for 3/4-inch plywood subfloors.
Securing the Edges
Start at one end of the roll. Strike the hammer tacker firmly against the material. You want to place staples along the edges first. A good rule of thumb is to place a staple every 4 to 6 inches along the perimeter of the sheet. You do not need to measure this precisely with a ruler; you can just eyeball it! The goal is to keep the edge flat so that it doesn’t curl when you lay the row next to it.
Fastening the Field
Once the edges are secure, you need to fasten the middle of the sheet, also known as the field. You don’t need as many staples here. One staple every foot or so is generally plenty. You can work in a zigzag pattern or just run lines down the center. The primary job of the staples in the middle is just to keep the sheet from shifting while you install the floor.
The Swing Technique
There is a bit of an art to using the tacker effectively. You want to use your elbow, not just your wrist. A solid, flat impact is key. If you hit at an angle, the staple might only go in halfway, or it might crumple against the surface. If you see a staple that isn’t flush, flip your tacker around; most of them have a solid metal striking face on the back, and hammer it flat.
Wrapping Up the Job
Once you have covered the entire floor, take a few minutes to walk over the whole surface. Listen for any crinkling sounds that might indicate a loose spot or debris trapped underneath. Look for any missed seams where the tape might have peeled up.
Getting the underlayment right sets the stage for a flawless floor installation. It protects your floor from moisture and wear while making your home quieter and more comfortable. While it might seem like just another layer of work, using the right methods makes it painless. By mastering the simple rhythm of the tool and following these steps, you now know how to attach underlayment with a hammer tacker like a pro.
For several decades, Salco has provided professionals with the high-quality fastening solutions they need to get the job done right. Our heavy-duty slap stapler is engineered for durability and precision, ensuring you can install underlayment efficiently without physical strain. Trust in our legacy of innovation and reliable customer service to help you achieve a flawless floor installation every time. Explore our tools today!