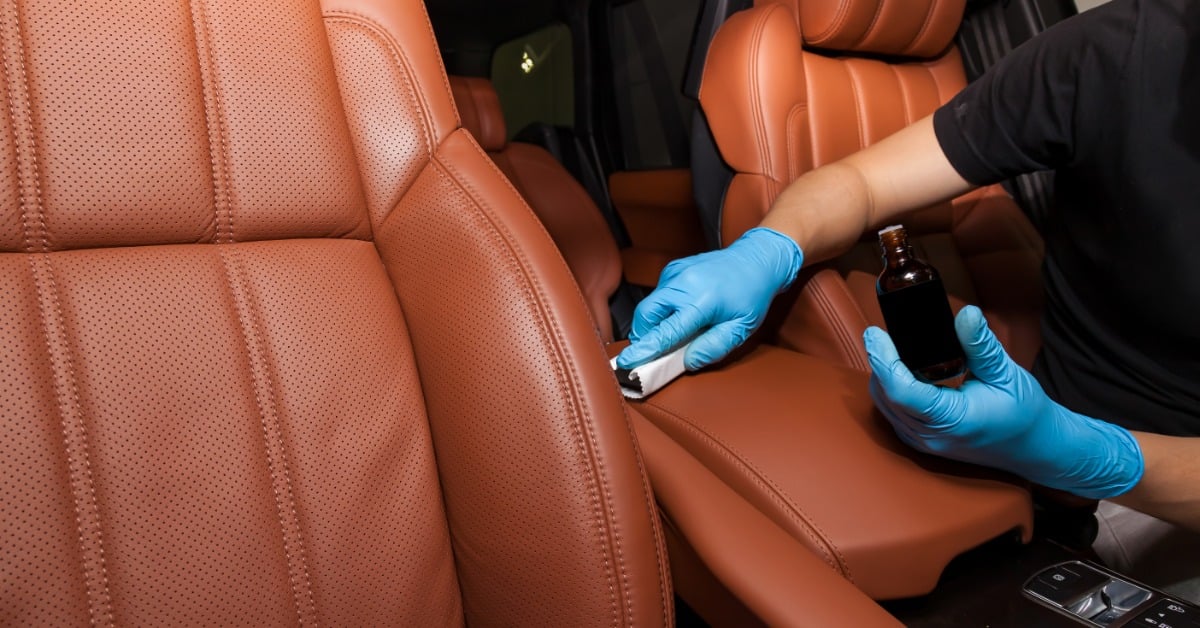
Auto seats take a lot of abuse every day. Drivers and passengers constantly shift their weight, putting pressure on seams and bolsters. Because of that, using hog-ring fastening strategies for long-lasting auto seats can help you create a seat that keeps its shape and supports you over time. A proper installation does more than just hold the cover in place. It lets the foam, wires, and upholstery work together for years of daily use.
Start With a Clean Seat Foundation
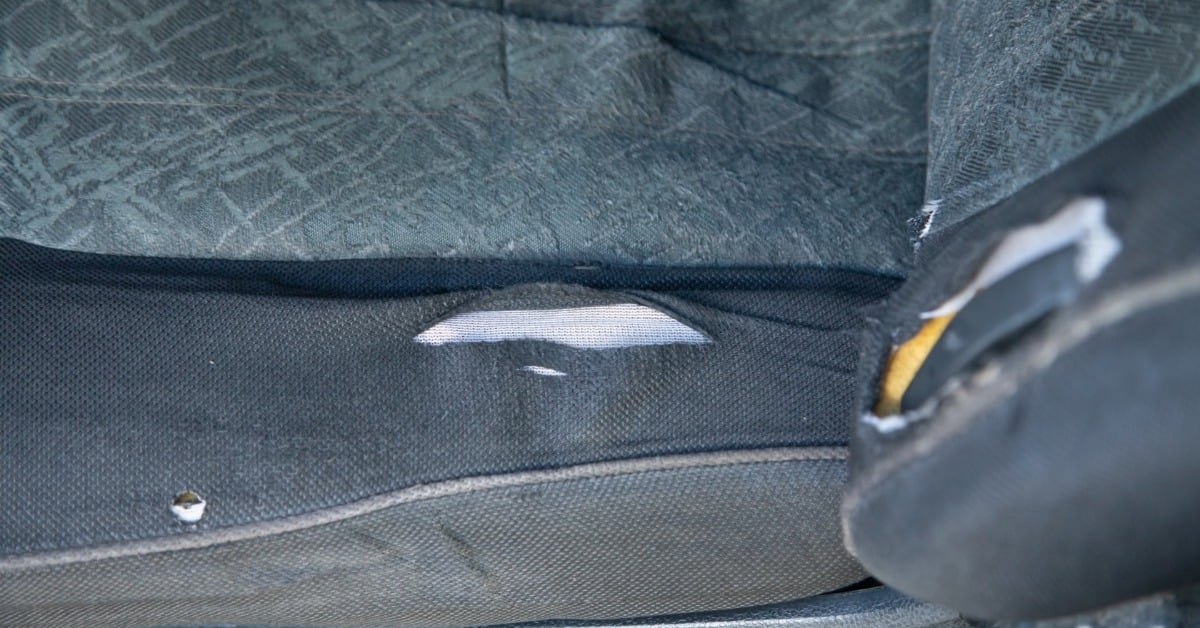
Before installing any hog rings, check the seat underneath carefully. Worn foam or stretched listing channels can affect your results. Even the best fastening can’t make up for a weak foundation. Take a few extra minutes to inspect the frame and listing rods. If you find any bent parts, straighten or replace them before you continue.
This helps the cover pull evenly across the seat. Pay close attention to the foam as well. Cracked foam or missing support can make a new cover look loose. Replacing damaged foam spreads tension more evenly and avoids putting too much stress on certain spots.
Match the Hog Ring to the Job
Although hog rings seem simple, choosing the right one affects the end result. A ring that is too small may pinch excessively. A ring that is too large may leave unwanted movement between the cover and the listing wire. Either situation can affect durability.
Think about where the seat will be used. Car interiors face changes in temperature, moisture, and lots of movement. In many cases, galvanized or coated hog rings resist rust better than plain ones.
Respect the Listing Wires
Listing wires help shape the seat. They pull seams into the foam and create the contours that give the upholstery its finished look. If the rings don’t grab the wire properly, you might end up with uneven seams or panels that look off.
While you work, feel for the wire inside the cover. Straighten the wires before fastening so each ring grabs the same part all the way through. Keeping the wire straight helps the seam look cleaner and keeps tension even across the seat.
Keep Pull Direction Consistent
The direction of your pull affects the final appearance more than many installers realize. Pull the listing channel directly toward the seat frame or attachment point whenever possible. Avoid pulling sideways across the foam! Side pressure can distort seams and create wrinkles that become difficult to remove later.
Work From the Center Out
Start in the center of the seat to control tension better. This helps keep the cover lined up and lowers the risk of pulling one side too tight. Secure the center section first. After you check that the seams line up, work outward to each side. This lets you make small adjustments before the cover is fully attached. Don’t rush! Taking your time early on can save you from bigger fixes later.
Avoid Over-Tightening the Rings
Many installers assume tighter is always better. In reality, excessive tension can create new problems. Rings that clamp too aggressively may damage the listing fabric or distort foam channels.
A properly closed ring should hold the materials securely without crushing them. If you notice rings digging deeply into the channel or deforming dramatically during closure, reassess your ring selection or tool settings. You want the cover to stay secure while still allowing the seat materials to function as intended.
Watch the Foam While You Fasten
The foam gives you helpful feedback as you work. Watch how it reacts when you attach the cover. If you see a channel collapsing or a bolster moving out of shape, stop and check before going on. Use your free hand to support and guide the foam when needed. Try to let the cover settle naturally instead of forcing it into place.
Space Rings for Strength and Shape
Ring spacing influences both durability and appearance. Too few rings can allow the cover to shift over time, while too many rings can create unnecessary stress points and reduce flexibility.
Every seat is a little different, especially when you’re restoring one. As you install the rings, aim for even support across the seat. Areas with more tension might need extra fastening, while spots with less stress usually need fewer rings.
Before final assembly, review your spacing with these guidelines in mind:
- Use factory ring locations as a reference point.
- Add support in areas that experience greater tension.
- Leave room for natural material movement where appropriate.
- Check seam alignment regularly throughout the installation.
- Focus on improving shape and support rather than simply adding more rings.
Use the Right Hog Ring Tool
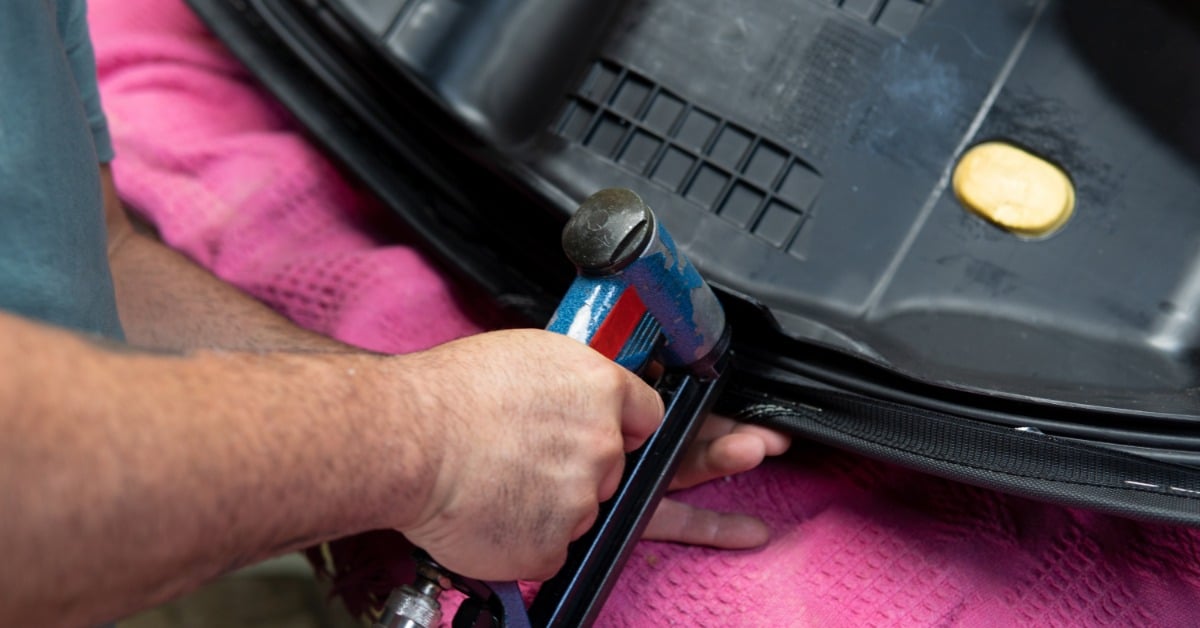
The tool you choose affects both speed and consistency. Manual hog ring pliers work well for occasional repairs, but larger projects can quickly become tiring. Many upholstery professionals prefer pneumatic hog ring tools because they provide more consistent closure and reduce hand fatigue.
Think about how easy it is to reach tight spots in the seat. Auto seats often have small spaces that make fastening tricky. A tool that fits well in those areas helps you place rings accurately and work more comfortably. When your tool feels good in your hand, you can focus better on the job.
Check Comfort Before Final Assembly
A seat might look perfect but still have hidden problems. Before you put the trim back on or reinstall the seat, take a few minutes to check your work.
Press on the cushion and inspect the seams closely. If possible, sit on the seat and pay attention to how it feels. Look for unusual pressure points or areas where the cover seems overly tight. This simple inspection often reveals issues that are difficult to spot visually.
If you notice wrinkles returning after smoothing them out, investigate further. The cause may be uneven tension or a shifted listing wire. Addressing those concerns now is much easier than correcting them after installation.
Keep Auto Seats Tight for the Long Haul
A durable seat requires more than a tight cover. It requires thoughtful fastening and careful attention throughout the installation process. When you incorporate hog-ring fastening strategies for long-lasting auto seats into your workflow, you give upholstery a better chance of staying secure and attractive for years. Take your time and trust the process. Your hard work will pay off every time someone sits in the seat!
Ready to keep your auto upholstery work clean and built to last? Salco offers a pneumatic hog ring gun for restoration projects and full-auto upholstery installations where consistent closure really matters. The right tool helps reduce hand fatigue and makes it easier to secure listing wires without fighting awkward angles. Explore Salco Staple Headquarters today and find a tool that helps every seat come together, from the first ring to the final fit.