Some home improvement projects seem deceptively simple until you get started. Installing trim molding is one of those tasks. Many beginners stumble through the process, learning hard lessons along the way. We will walk you through some of the most common beginner mistakes when installing trim molding and how to avoid them so your next project goes smoothly.
Misjudging Measurements
It’s easy to look at things and think they look right, but precision is critical. Any misalignments in a room can throw off the entire look. So, as you prepare to measure walls, ensure you have a tape measure in hand to double-check—maybe even triple-check—every measurement. After measuring and feeling 100% confident in the number, clearly mark the area with a pencil before cutting. Also, use a level to ensure you perfectly align each trimmed piece.
Skipping Surface Preparation
Slapping trim onto a dirty or uneven wall won’t give you the professional look you want. Avoid doing this at all costs by cleaning your walls until they’re free of dust and grime. Then, sand it down to avoid uneven spots or bumpy areas. Use a primer to help the trim adhere to the wall better.
Cutting Corners With Cuts
Incorrect cutting techniques can lead to wasted materials and a lot of frustration. Many beginners make the mistake of rushing through this step, resulting in poorly fitted trim pieces. Try not to grow impatient during the process. Do better for your project and stress levels by investing in a miter saw that cuts well. Practice cutting scrap wood with the saw before tackling the project. Be sure to cut slowly to avoid losing your grip.
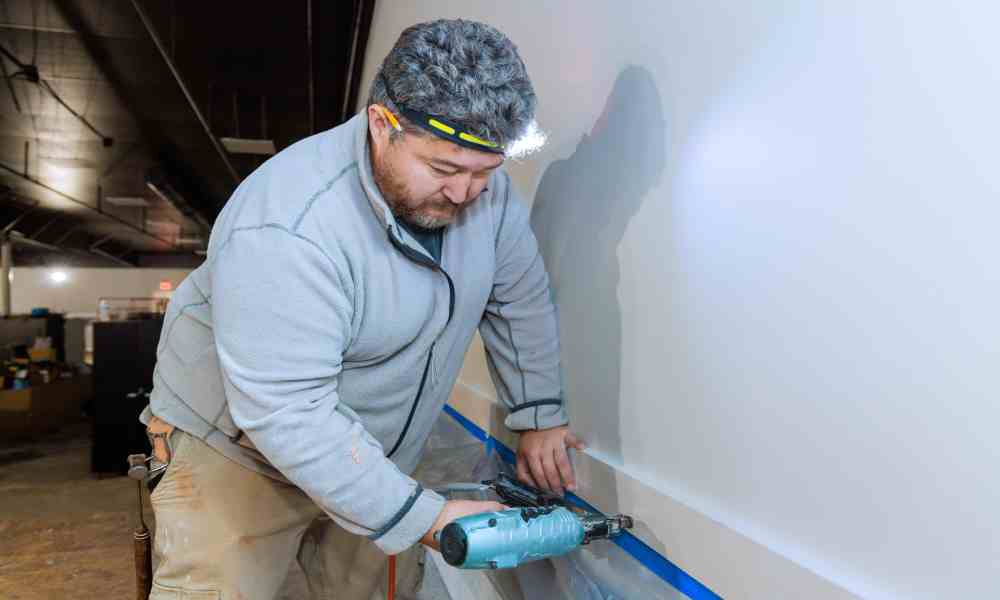
Ignoring Nail Placement
Poor nail placement can make your trim molding look sloppy. Nails that are too visible or not securely fastened can ruin the overall aesthetic. Make the room stand out even more by using a nail gun to secure the trimming faster and hold the mold in place. The best way to improve how well the nail mounts the trim is to place it at an angle. Then, fill visible nail holes with wood filler and sand it down.
Overlooking Caulking and Sealing
The final changes can make or break your trim molding project. Skipping caulking and sealing leaves gaps and an unfinished look. Give your room the aesthetic it deserves by applying caulk along the edges of the trim where it meets the wall. Then, smooth the caulk using a caulk finishing tool—yes, you can use your finger, but a tool works better. After it dries, paint over the caulk.
Beginner’s Luck at Salco Staple Headquarters
Taking on a trim molding project can be rewarding if done correctly. You can confidently tackle this project by learning some common beginner mistakes when installing trim molding. Good preparation and diligence lead to better beginner’s luck.
Consider visiting Salco Staple headquarters for better beginner’s luck with your next trim molding project. Our slap stapler and other quality tools can make your installation process smoother and more efficient. Now, let’s get to installing your molding correctly the first time!