Improving the sound quality in your home or studio doesn’t mean you have to spend a fortune on professional acoustic panels. With the right materials and tools, you can create custom acoustic panels that rival store-bought options in both performance and appearance. This brief guide to making DIY acoustic panels will walk you through everything from selecting the best materials to assembling and placing your panels for optimal acoustic performance.
Choosing the Right Materials for Acoustic Panels
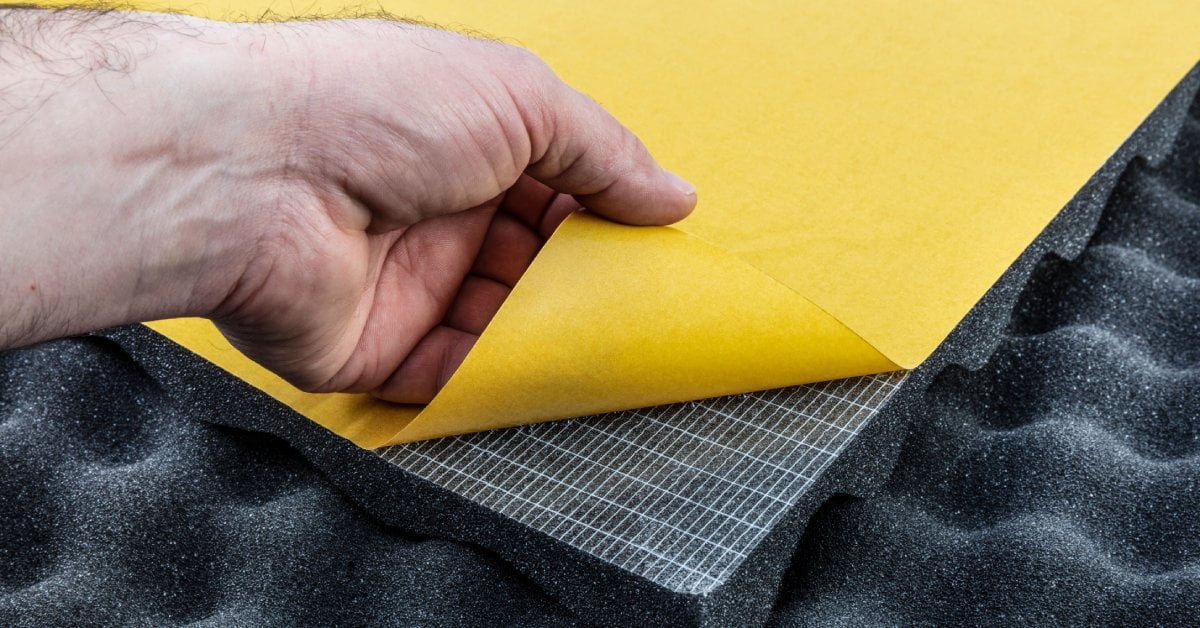
The foundation of any effective acoustic panel starts with high-quality materials. Sound-absorbing insulation like mineral wool or fiberglass serves as the core of your panels, trapping unwanted noise and reducing echoes. Covering this insulation with a breathable fabric, such as burlap or acoustically transparent cloth, protects the core and allows sound waves to penetrate for effective absorption.
For the frame, select durable wood like pine or plywood, which offers stability and ensures your panels last. You’ll also need reliable tools to secure the frame and fabric—Salco provides a wide range of supplies to help you get the job done right. Choosing the correct materials can make all the difference in the effectiveness of your finished product.
Building Your DIY Acoustic Panel Frame
The frame forms the backbone of your acoustic panel, so it needs to be strong and precise. Start by measuring and cutting the wooden pieces to match your desired panel size. Assemble the frame by joining the corners at 90-degree angles, and use screws or nails to fasten the pieces securely.
Creating a robust frame is one of the most important factors when making DIY acoustic panels. Double-check all measurements and connections to avoid any weak spots that could compromise your panels’ durability.
Securing the Insulation and Covering
After assembling the frame, you can add the insulation. Cut the insulation to fit snugly within the wooden frame, filling every corner to maximize sound absorption. Lay your chosen fabric on a flat surface, making sure it is large enough to wrap around the entire panel.
Place the frame with insulation face down on the fabric, pull the fabric taut around the frame, and secure it using fastener tools like a high-quality stapler from Salco. A clean, tight finish on the fabric ensures your panels look polished and remain functional.
Optimizing Panel Placement in Your Space
The placement of your panels is just as important as their construction. Identify areas in your room where sound reflections are most noticeable, such as bare walls or corners. Position your acoustic panels strategically in these areas to absorb noise and enhance clarity.
Mounting panels on walls or ceilings opposite sound sources yields the best results. Thoughtful placement maximizes the benefits of making DIY acoustic panels, creating a balanced acoustic environment tailored to your needs.
With the proper materials and techniques, you can craft high-quality panels while saving money. Additionally, reliable tools from Salco ensure success every step of the way. Start your project today and enjoy the difference a well-placed acoustic panel can make.