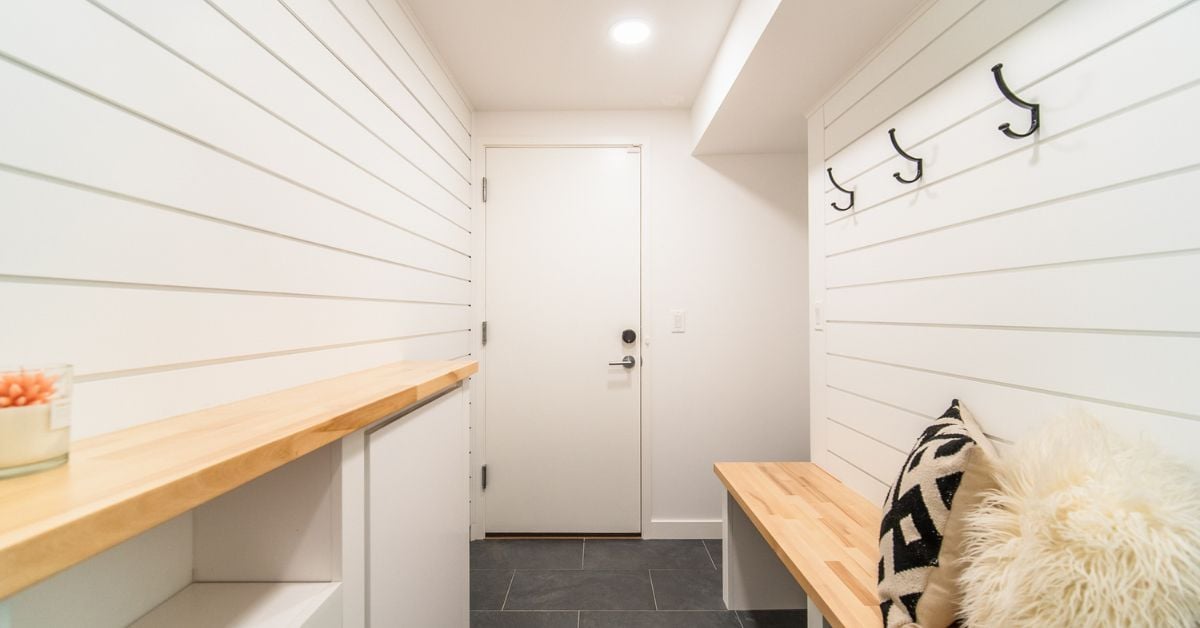
Nothing transforms a space quite like the warm, rustic charm of shiplap. This classic wood paneling has become a staple in modern home design, offering both visual appeal and practical durability. However, many homeowners hesitate to tackle this project because they worry that unsightly nail holes will disrupt the clean lines they’re trying to achieve.
The good news is that learning how to install shiplap without nails showing is entirely possible with the right techniques and tools. Discover proven methods that deliver stunning results while maintaining the integrity and beauty of your shiplap installation.
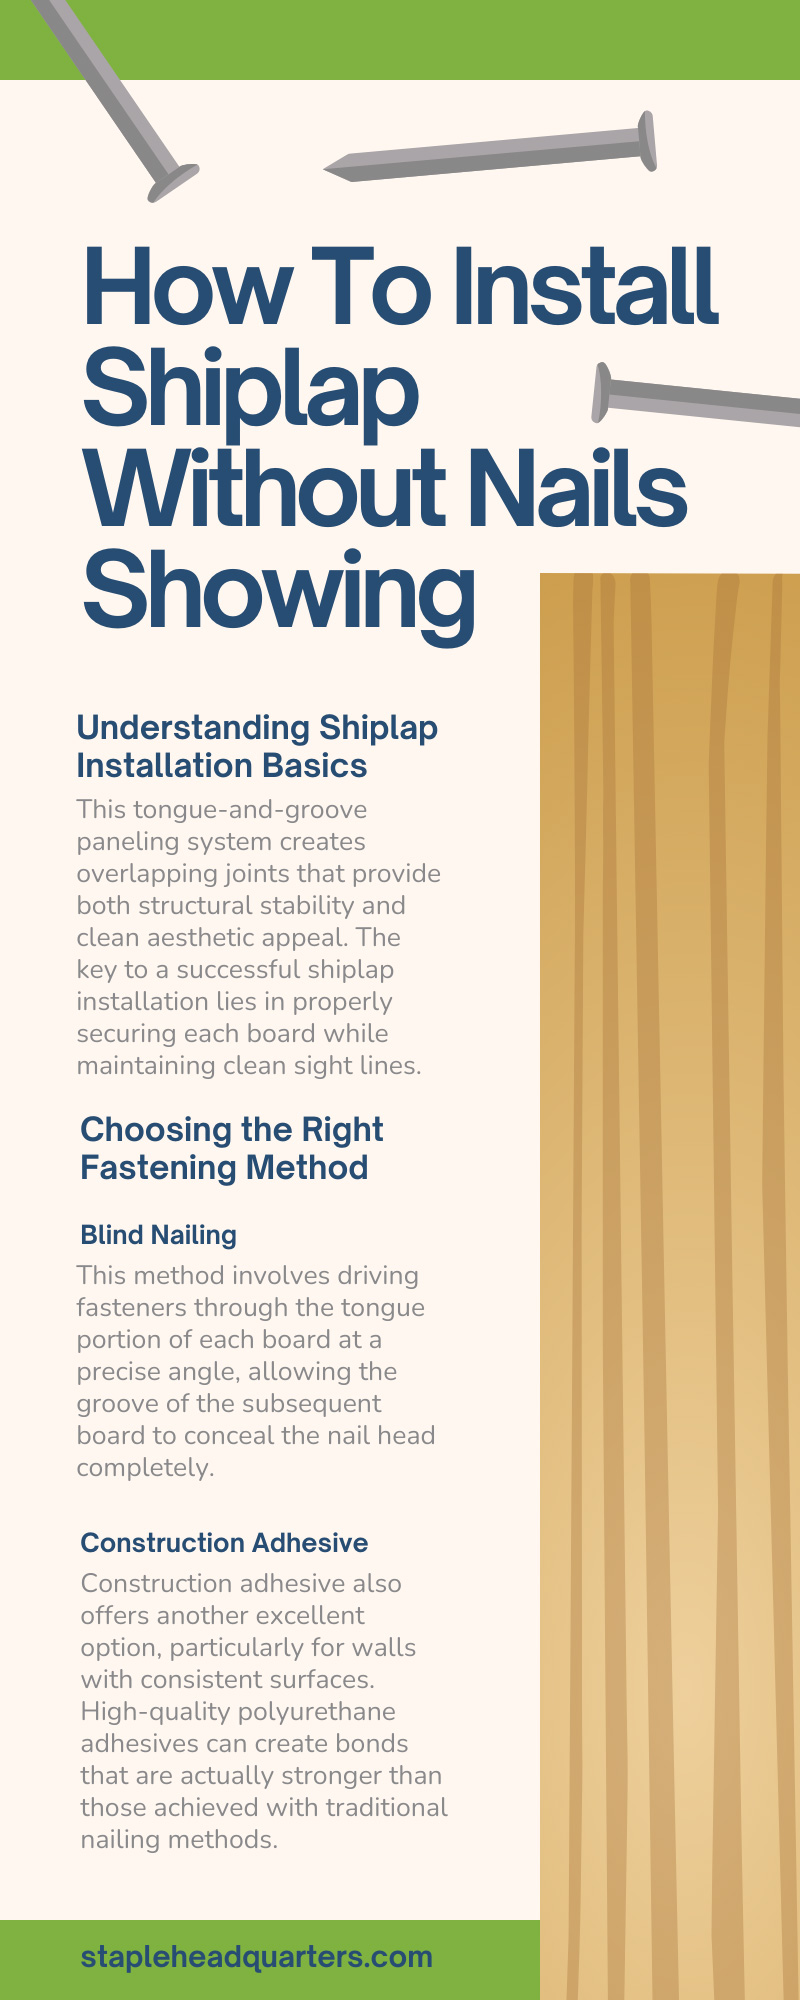
Understanding Shiplap Installation Basics
Before diving into specific techniques, it’s important to understand what makes shiplap unique. This tongue-and-groove paneling system creates overlapping joints that provide both structural stability and clean aesthetic appeal. The key to a successful shiplap installation lies in properly securing each board while maintaining clean sight lines.
Traditional installation methods often rely heavily on face nailing, which can create visible holes that detract from the overall aesthetic. Professional contractors have developed several alternative approaches that eliminate this issue while ensuring long-lasting results. These methods focus on strategic placement, specialized tools, and innovative fastening techniques that work with the natural structure of the wood.
Choosing the Right Fastening Method
The foundation of any successful shiplap installation begins with selecting the appropriate fastening approach. Several methods can effectively secure your boards without creating visible nail holes on the surface.
Blind Nailing
Blind nailing represents one of the most popular techniques among professional installers. This method involves driving fasteners through the tongue portion of each board at a precise angle, allowing the groove of the subsequent board to conceal the nail head completely. When executed correctly, blind nailing creates an incredibly clean appearance while providing excellent holding power.
Construction Adhesive
Construction adhesive also offers another excellent option, particularly for walls with consistent surfaces. High-quality polyurethane adhesives can create bonds that are actually stronger than those achieved with traditional nailing methods.
Mastering the Blind Nailing Technique
Blind nailing requires patience and precision, but the results are worth the extra effort. Start by positioning your first board at the bottom of your installation area, ensuring it’s perfectly level. Drive your fasteners through the base of this initial board, as these holes will be concealed by your flooring or baseboard trim.
For subsequent boards, position your nail gun or hammer tacker stapler at approximately a 45-degree angle to the tongue of the board. Drive the fastener through the tongue’s solid portion, making sure the nail head sits flush or slightly below the surface. The groove of your next board should slide over this area completely, hiding any trace of the fastener.
Utilizing Specialized Tools for Professional Results
Hammer tacker staplers represent one of the most effective tools for achieving invisible fastening in shiplap installations. These specialized staplers can drive fasteners at precise angles, making them ideal for blind nailing applications. The narrow profile of staples also means they’re less likely to split the wood compared to traditional nails.
Pneumatic finish nailers offer another excellent option, particularly for larger installations where speed and consistency are important. These tools can be adjusted to drive fasteners at the exact depth needed for your specific wood thickness and hardness. The consistent power delivery also reduces the risk of overdriving, which can damage the tongue portion of your boards.
Salco provides a durable, heavy-duty hammer tacker stapler designed to make your shiplap projects easier and more efficient. Whether you’re working on a DIY home improvement project or a professional installation, Salco has you covered. Plus, we offer a wide range of tools and fasteners to ensure you have everything you need to get the job done right.
Preparing Your Surface for Success
Before installing the shiplap, make sure your wall surface is clean, dry, and structurally sound. Any existing paint should be lightly sanded to improve adhesion if you’re planning to use construction adhesive as part of your fastening strategy.
Locate and mark all wall studs before beginning your installation. Even when using adhesive or blind nailing techniques, hitting solid framing members provides the most secure attachment. Use a stud finder to identify these locations, then mark them clearly with a pencil or chalk line.
Advanced Adhesive Techniques
Modern construction adhesives have revolutionized shiplap installation, offering strong bonds without visible fasteners. Choose a high-quality polyurethane adhesive that’s specifically designed for wood applications, as these products typically offer excellent gap-filling properties and remain flexible after curing.
Apply adhesive in a continuous bead along the back of each board, staying approximately half an inch from the edges to prevent squeeze-out. Work quickly but deliberately, as most adhesives begin to set within minutes of application. Use temporary bracing or clamps to hold boards in position while the adhesive cures.
For optimal results, consider combining adhesive with minimal blind nailing. This hybrid approach provides immediate holding power while the adhesive develops its full strength. The few fasteners required can be easily concealed using proper blind nailing techniques.
Finishing Touches for Flawless Results
Once your shiplap installation is complete, the attention to detail in the finishing process will determine the overall quality of your project. Any minor imperfections or slight gaps can be addressed with wood filler that matches the color and grain pattern of your material.
Sand any rough spots lightly with fine-grit sandpaper, taking care not to damage the wood’s surface. Pay particular attention to joints and edges, ensuring smooth transitions between boards for a seamless appearance. Remove all dust and debris before applying your chosen finish.
Whether you’re planning to paint, stain, or leave your shiplap natural, proper surface preparation at this stage remains important. Prime any filled areas separately if you’re painting, as wood filler may absorb paint differently than the surrounding wood.
Troubleshooting Common Installation Challenges
Even experienced installers occasionally encounter challenges during the installation of shiplap. Boards that don’t fit properly may indicate issues with your initial measurements or wall preparation. Rather than forcing pieces into place, step back and identify the root cause of the problem.
Gaps between boards can often be resolved by adjusting your installation technique or addressing surface irregularities. Small gaps may be acceptable depending on your design goals, while larger ones typically indicate a need to fix some installation issues.
If you notice fasteners becoming visible after installation, this usually indicates problems with your blind nailing angle or depth. You can often correct these issues by adjusting your technique for the remaining boards and addressing problematic areas with wood filler.
Installing Shiplap Like a Pro
Mastering how to install shiplap without nails showing opens up endless possibilities for transforming your living spaces. By focusing on proper preparation, selecting the right tools, and executing proven methods, you can achieve results that rival those of professional installations.
Remember that patience and attention to detail are your greatest allies throughout this process. Don’t be afraid to take the time and practice your technique on scrap materials before beginning your actual installation to achieve optimal results.