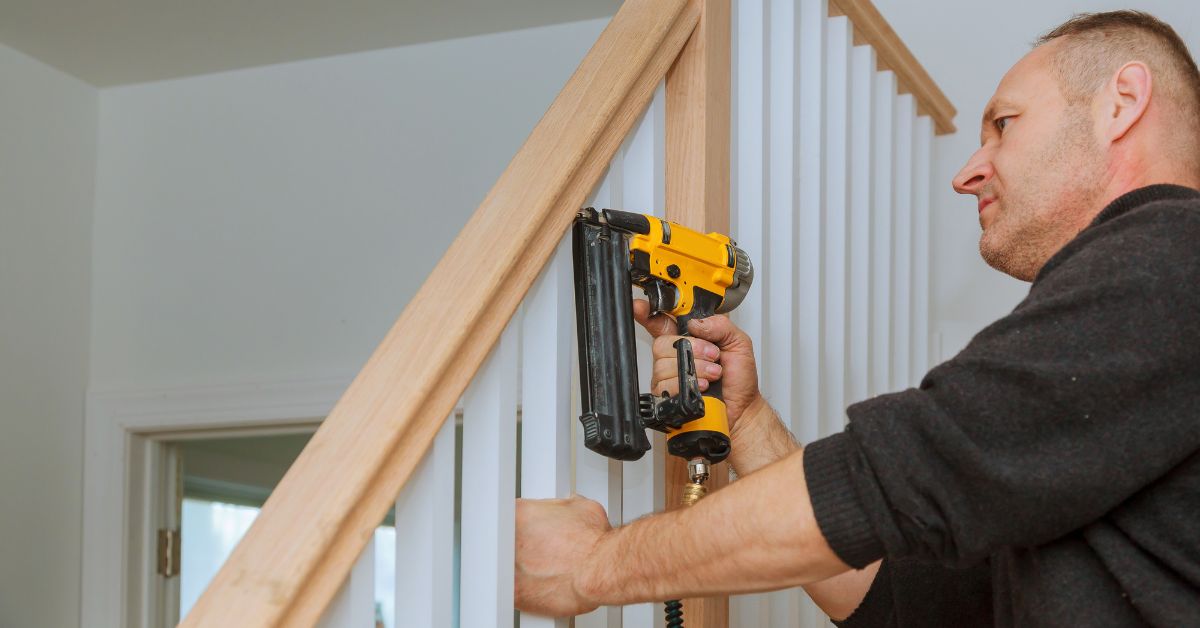
Pneumatic nailers are a staple in construction, woodworking, and DIY projects. Proper maintenance keeps them operating smoothly, minimizes downtime, and extends their lifespan.
Tuning up a pneumatic nailer doesn’t require advanced technical skills—just the right knowledge and a bit of care. This guide will walk you through every step to keep your nailer ready for action.
Preparing Your Pneumatic Nailer
Preparation lays the foundation for a successful tune-up. Taking the time to organize your tools and follow safety procedures reduces errors and wasted time searching for specific tools.
Beyond basic tools, consider adding a small flashlight to your kit for inspecting hard-to-see areas inside the nailer. Double-check that your air compressor’s pressure matches the nailer’s specifications to avoid accidental damage during testing. Organizing your tools in a dedicated area also reduces the risk of misplacing small components like screws or O-rings during disassembly.
Reviewing the User Manual and Safety Guidelines
The user manual is more than just a reference; it’s a roadmap for handling your pneumatic nailer. Start by reading the section that covers maintenance and troubleshooting. Manufacturers often provide detailed diagrams that help identify parts and highlight maintenance schedules.
Safety should always come first. Wear gloves to protect your hands from sharp edges or moving parts and goggles to shield your eyes from debris. If you’re working indoors, ensure proper ventilation when using lubricants or cleaning agents. Setting up a safe and organized workspace reduces distractions and accidents.
Gathering the Necessary Tools and Supplies
A well-equipped toolbox makes maintenance straightforward. Gather essential items like Allen wrenches, a soft brush, and pneumatic tool oil. For deeper cleaning, compressed air can remove stubborn debris from hard-to-reach areas.
Keep replacement parts like O-rings or seals on hand, especially if your nailer is older or heavily used. Having parts ready eliminates downtime and allows you to finish the tune-up without interruptions. Creating a checklist of tools prevents you from forgetting anything important mid-task.
Cleaning and Lubricating the Nailer
No guide to tuning up a pneumatic nailer is complete without cleaning and lubrication. Over time, dust, grease, and debris build up inside the nailer, affecting its performance. Removing buildup and applying fresh lubrication restores smooth operation.
Start by disconnecting the air supply and wiping down the tool’s exterior with a damp cloth. Pay special attention to crevices where dust might accumulate. Regular cleaning keeps the nailer looking good and prevents wear caused by abrasive dirt.
Cleaning Internal Components
Disassembling the nailer carefully is crucial for effective cleaning. Open the magazine and driver area, and inspect for leftover nails or buildup. Use a soft brush to remove visible debris, focusing on the driver blade and firing mechanism.
For more stubborn dirt, compressed air provides a quick and effective solution. Hold the nailer at an angle to blow debris away from internal components rather than deeper into the tool. Cleaning regularly prevents misfires and extends the tool’s reliability.
Applying Lubrication
Lubrication minimizes friction and protects moving parts from excessive wear. Add a few drops of pneumatic tool oil into the air inlet before reconnecting the nailer to distribute the oil through the internal mechanisms during operation.
Focus on lubricating key components like the O-rings, seals, and trigger assembly. Avoid using too much oil, as over-lubrication can attract dust and gum up the works. Regular lubrication keeps the tool running smoothly and prevents costly repairs.
Inspecting and Replacing Worn Parts
Regular inspections identify wear before it becomes a bigger problem. Parts like O-rings and seals degrade over time, leading to reduced performance or even complete failure. Inspecting components keeps your tool reliable.
At Salco Staple Headquarters, we provide professional nailing supplies, including hog ring staplers, for your maintenance needs. High-quality replacement parts improve the longevity and efficiency of your pneumatic nailer.
Identifying Worn Seals and O-rings
Worn seals and O-rings are common culprits behind air leaks and inconsistent firing. Look for visible cracks, tears, or signs of drying out. Air leaks often manifest as hissing sounds or reduced nail-driving power.
Use a flashlight to inspect parts closely, especially in low-light conditions. Gently press on the O-rings to check for flexibility. Brittle or stiff components indicate it’s time for a replacement. Identifying issues early prevents more extensive damage to the nailer.
Replacing Parts for Optimal Performance
Replacing worn parts requires patience and attention to detail. Use the correct tools, such as small pliers or specialized seal-removal tools, to avoid damaging surrounding components. Take note of the orientation of each part during disassembly for proper reassembly.
When purchasing replacements, follow the specifications outlined in your manual. Installing high-quality parts reduces the risk of future failures and improves overall performance. Testing the nailer after each replacement step confirms the success of the repair.
Testing and Adjusting the Nailer
Testing the nailer verifies that all maintenance steps were successful. Once reassembled, reconnect the air supply, and perform a controlled test run. Observing the tool’s performance helps identify any lingering issues.
Take a slow, step-by-step approach when fine-tuning your settings. Depth-of-drive and trigger sensitivity adjustments are important factors in achieving consistent and reliable results.
Performing a Test Run
Choose a piece of scrap wood to test the nailer’s performance. Start with a few test nails to evaluate the depth, alignment, and overall functionality. Pay attention to how the tool sounds and feels during operation.
Misfires, skipped nails, or uneven depths indicate potential issues. Troubleshoot problems by revisiting earlier maintenance steps, such as cleaning or lubrication. A thorough test run keeps the tool ready for real-world use.
Making Final Adjustments
Depth-of-drive adjustments help you achieve consistent nail placement. Use the adjustment dial or settings specified in your manual to match the material you’re working with. For softwoods, a shallower depth is ideal, while hardwoods may require a deeper setting.
Trigger sensitivity also plays a critical role in performance. Adjust the trigger settings to suit your workflow, balancing speed and precision. Fine-tuning triggers enhance the tool’s usability and help you meet project requirements.
Tuning up a pneumatic nailer is a straightforward process that delivers significant benefits. Regular cleaning, lubrication, and inspections prevent performance issues and extend the tool’s lifespan. Small steps like replacing worn parts and adjusting settings keep your nailer operating at its best. Keep this complete guide to tuning your pneumatic nailer in mind the next time you service your tools for a smoother project.
